Cryptocurrency security is more important than ever, and hardware wallets have become the gold standard for protecting digital assets. One of the most trusted names in this space is Trezor, and the official setup process begins at Trezor.io/Start. This page acts as the secure gateway for initializing your Trezor device, installing the necessary software, and ensuring your crypto remains fully under your control.
Trezor.io/Start is the official onboarding page created by SatoshiLabs for users who have purchased a Trezor hardware wallet. Whether you’re using the Trezor Model One or Trezor Model T, this page provides verified instructions and tools to set up your device safely. Using this official link is critical, as it protects users from phishing websites and malicious software pretending to be Trezor services.
The page guides you step by step, even if you’re completely new to cryptocurrency. From downloading the correct software to generating your recovery seed, everything is designed with simplicity and security in mind.
Crypto scams are common, and fake setup pages are one of the biggest threats to new users. Trezor.io/Start ensures that:
Trezor will never ask for your recovery seed online, and the Start page repeatedly reminds users of this key safety rule.
When you visit Trezor.io/Start, the setup process is broken down into simple steps:
Your recovery seed is the master key to your crypto wallet. Anyone who has access to it can control your funds. Trezor.io/Start strongly emphasizes the following best practices:
Some users choose to engrave their seed on metal plates for extra protection against fire or water damage.
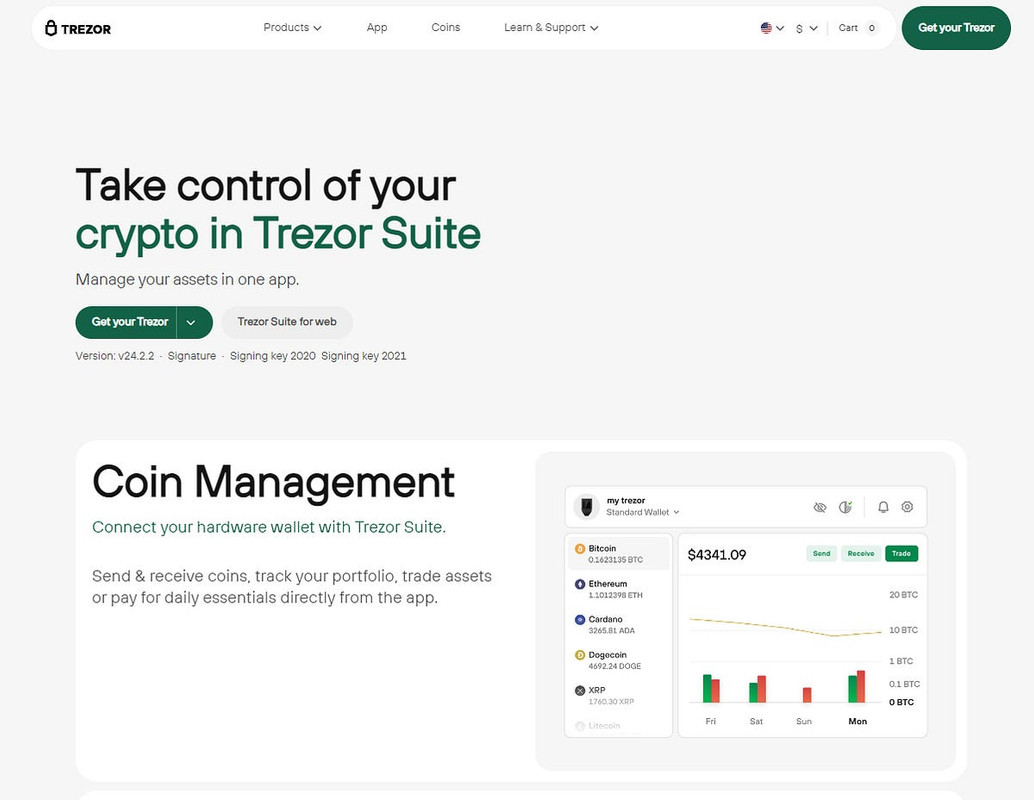
Once setup is complete, Trezor Suite becomes your main dashboard. From here, you can:
Trezor Suite supports a wide range of cryptocurrencies, including Bitcoin, Ethereum, Litecoin, and many ERC-20 tokens.
Trezor.io/Start also introduces users to optional but powerful security tools, such as:
These features allow experienced users to customize their security based on their risk tolerance.
Trezor.io/Start is more than just a setup page—it’s the foundation of a secure crypto experience. By following the official instructions and taking recovery seed protection seriously, users gain full ownership and control of their digital assets.
In a world where online threats are constantly evolving, starting your Trezor journey at the correct, official source is essential. Whether you’re a beginner or an experienced crypto holder, Trezor.io/Start ensures your first steps are safe, verified, and built for long-term security.